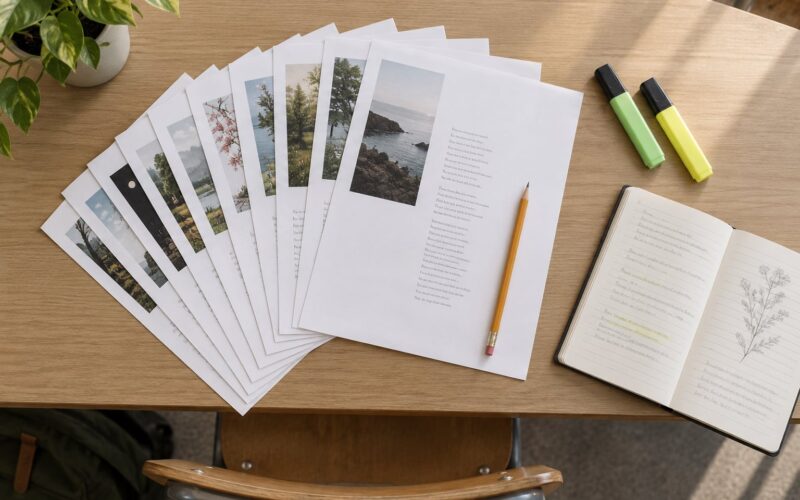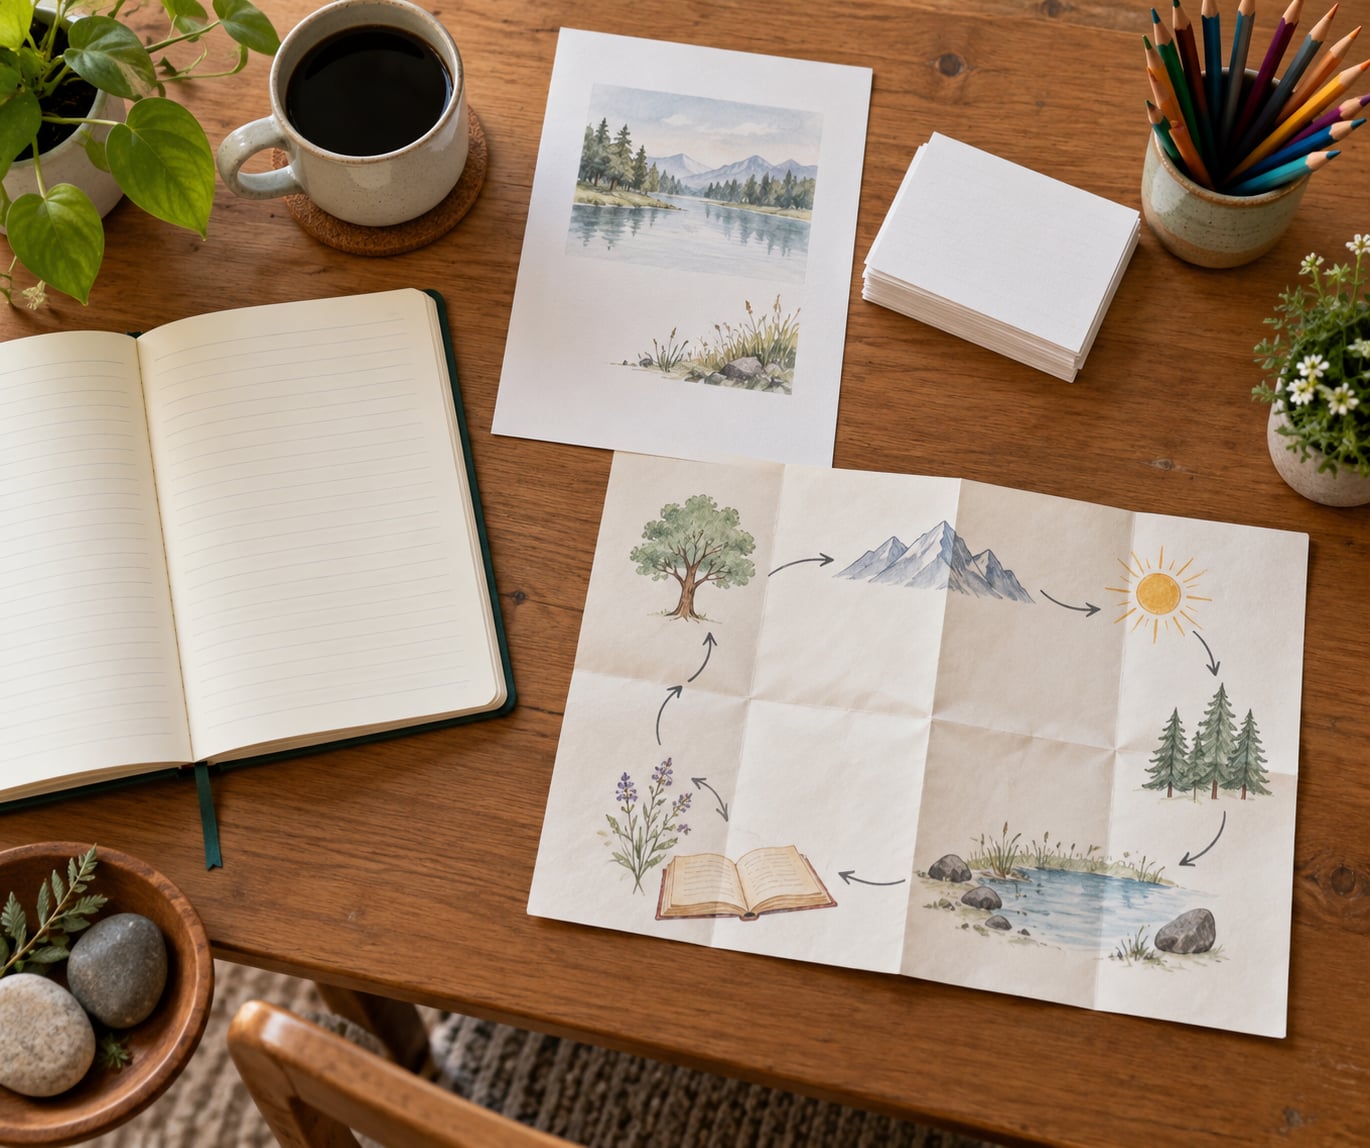
Poetry lesson plan ideas work best when each one has a stated objective, a short list of materials, a real time frame, and a way to check what students actually learned. This list gives you 10 ready-to-run plans, from a 20-minute scavenger hunt to a full-period poetry debate, each labeled with the grade band it fits and the skill it builds. Most take under 45 minutes and need nothing more than paper, a poem, and your voice.
I’ve taught these in middle school ELA classes and revised them based on what students actually did. Some filled a 45-minute period with room to spare. A couple ran long, and I’ve cut them down. Teachers on r/ELATeachers describe the same pattern: students resist a poetry unit right up until they are handed a task that isn’t a worksheet.
Read the at-a-glance table below, pick the lesson that matches your students’ age and confidence, then adapt one poem and one discussion question before class. That last step matters more than it sounds. The same lesson plan lands completely differently with a haiku than with a dense narrative poem.
Table of Contents
- Lesson Plan Ideas for Teaching Poetry at a Glance
- 1. Poetry Scavenger Hunt
- How to run a poetry scavenger hunt step by step
- Make the hunt chart harder for older students
- 2. Read the Room: Poetry Performance Activity
- 3. Poetry Comparison With Song Lyrics
- 4. Line-by-Line Close Reading
- When to shorten it
- 5. Poetry Word Bank and Figurative Language Sort
- Extension for advanced students
- 6. Poetry Remix Workshop
- 7. Poetry Map: Visualizing a Poem
- 8. Poetry Circles
- 9. Write a Poem in Another Poet’s Style
- 10. Poetry Analysis Debate
- How to Build a Poetry Unit That Holds Up
- Frequently Asked Questions
- What are the three R’s of poetry?
- What are the six S’s of poetry?
- How do I create a blackout poem step by step?
- What are the five rules of slam poetry?
- How do I teach poetry to reluctant readers?
- How do I grade student poetry without killing creativity?
- Conclusion
Lesson Plan Ideas for Teaching Poetry at a Glance
This table compares all 10 lesson plan ideas by grade band, time, materials, and the main skill each one builds. Use it to match a lesson to the period you actually have.
| Idea | Best for | Time | Materials | Main skill |
|---|---|---|---|---|
| 1. Poetry Scavenger Hunt | Grades 4-8 | 25-35 min | Short poem, hunt chart, pencils | Sound devices and figurative language |
| 2. Read the Room | Grades 5-10 | 35-45 min | Poem, recording device or partner reader | Voice, tone, interpretation |
| 3. Poetry and Song Lyrics | Grades 7-12 | 40-50 min | Poem, printed lyric, comparison organizer | Paired text analysis |
| 4. Line-by-Line Close Reading | Grades 8-12 | 45-55 min | Poem, annotation guide, claim sheet | Close reading and evidence |
| 5. Figurative Language Sort | Grades 4-9 | 30-40 min | Strip of poem lines, category signs | Device vocabulary |
| 6. Poetry Remix Workshop | Grades 7-12 | 45-55 min | Familiar poem, revision guide | Analysis plus creative writing |
| 7. Poetry Map | Grades 3-8 | 35-45 min | Large paper, colored pencils, poem | Imagery and structure |
| 8. Poetry Circles | Grades 4-12 | 40-50 min | Poem copies, role cards | Collaborative discussion |
| 9. Poem in Another Poet’s Style | Grades 8-12 | 50-60 min | Public-domain poem, style notes | Form and diction |
| 10. Poetry Analysis Debate | Grades 9-12 | 50-60 min | Poem, position cards, evidence sheet | Argument and counterclaim |
1. Poetry Scavenger Hunt
A scavenger hunt works because students stop hunting for the “right answer” and start noticing language, which is the actual goal.
Objective: Students identify sound devices and figurative language in a short poem and record the line number for each example.
Materials: One printed poem per student, a hunt chart with columns for device and line number, pencils.
Time: 25-35 minutes.
How to run a poetry scavenger hunt step by step
- Hand out a poem short enough to read twice in class, roughly twelve to twenty lines.
- Read it aloud once while students follow silently. Then read it a second time and let them mark as they hear things.
- Give each student a hunt chart with five columns: sound device, line number, and the words that prove it.
- Set a working time of eight minutes. Students may confer with one partner, and only with one partner.
- Close with a round-robin: pairs name one example, and the class writes the device on the board in a shared list.
A concrete example: I use William Carlos Williams’s “The Red Wheelbarrow,” which is four lines long and packs in image, repetition of the phrase “so much depends,” and a visual arrangement. A class that hunts a fourteen-line poem builds the same habit, just on more text.
Assessment: Collect the charts at the door and count accurate device labels with correct line numbers. A student who finds four of six targets has met the objective, no matter how many wrong guesses they also made.
Make the hunt chart harder for older students
Add columns for rhyme scheme and enjambment, then require students to explain in one margin note why the poet broke a line where they did. Honors students can hunt for shifts in tone across stanzas instead of single devices.
2. Read the Room: Poetry Performance Activity
Reading aloud strips a poem down to voice, pace, and emphasis, and students can hear how those choices carry meaning.
Objective: Students perform a poem aloud and explain how volume, pacing, and emphasis changed its meaning.
Materials: Poem copies, a recording device if you want a playback version, or just an open floor.
Time: 35-45 minutes.
- Model two quick readings of the same stanza, one flat and one with intent, and ask what changed.
- Pair students up. Each pair rehearses one poem for about five minutes, deciding who reads and who listens for a specific feature.
- Each pair records or delivers two readings: a literal reading and an interpretive reading.
- Ask every pair one question afterward: which word did you emphasize differently, and what did that do to the meaning?
This is a good early activity for reluctant readers because the first reading is low-stakes and the second has a job attached to it. Teachers running poetry circles report that performance work tends to lower the temperature in a room that has been skeptical of poetry all week.
Assessment: Listen for one passage per pair during the second reading and note whether emphasis matches the meaning the pair claims. A one-line written reflection works fine as an exit ticket.
3. Poetry Comparison With Song Lyrics
Comparing a poem with a lyric students already know converts a foreign text into familiar territory, and it teaches compression.
Objective: Students compare rhyme, repetition, imagery, and tone between a poem and a song lyric, and explain where the poem does more work per word.
Materials: One poem, one printed lyric, a two-column organizer.
Time: 40-50 minutes.
- Choose a lyric that is clean to print and familiar enough that students can hum it. Print it.
- Give the class five minutes with the lyric alone, marking every repetition and rhyme they hear.
- Distribute the poem and have students mark rhyme, repetition, imagery, and line breaks in a second color.
- Fill in the organizer side by side: what each text does with sound, and what each one is doing that the other cannot.
- Close with a short discussion on why the lyric repeats and the poem often resists it.
Keep the framing careful. A lyric is a poem in most classroom purposes, but the point of the lesson is compression: how much a lyric can repeat before it loses the listener, and how a poem earns an unusual word by working for it once. Walt Whitman’s “Song of Myself” or a short Emily Dickinson poem sits well next to a hook-heavy chorus.
Assessment: The finished organizer plus one sentence naming a craft choice in each text that a writer on purpose made.
4. Line-by-Line Close Reading
Close reading teaches students that a poem changes meaning as it moves, and that the shift usually happens at a line break.
Objective: Students trace how a poem’s literal meaning, mood, and interpretation change across its lines and end with a written claim supported by evidence.
Materials: Poem copies, an annotation guide, one claim sheet per student.
Time: 45-55 minutes.
- Number the lines in the margin as a class so everyone references the poem the same way.
- Walk the poem in three or four line-groups. For each group ask: what literally happens, what does it feel like, and what shifted?
- Have students mark underlining for literal meaning, circling for sensory image, and a question mark anywhere meaning is uncertain.
- Name enjambment when a sentence runs past the line break, and ask what that does to the reading speed.
- Finish with a claim: one sentence on what the poem is doing, followed by two pieces of evidence and one piece of counterevidence.
Concrete example: Robert Frost’s “Out, Out—” is short, narrative, and has an ending that reverses its own title. Middle schoolers can annotate the first half in a single period, and the last line gives the claim sheet something real to argue about.
Assessment: Score the claim, not the annotation. Does it name a specific moment in the poem, and does the evidence support it, or does the student merely restate the line they liked?
When to shorten it
Fifteen lines is usually the ceiling for a first close reading. Above that, split the poem in half and pick up the second half the next day, or students will annotate the first four lines beautifully and skim the rest.
5. Poetry Word Bank and Figurative Language Sort
A sorting activity gives students a working vocabulary for the devices they will meet all year, and it takes less prep than a worksheet.
Objective: Students define and identify metaphor, simile, personification, hyperbole, imagery, and symbol, then categorize lines from a poem using accurate terms.
Materials: Index cards or paper strips cut from a poem, category signs, a word bank sheet.
Time: 30-40 minutes.
- Cut six to ten lines from an age-appropriate poem and write one line per strip, with line numbers in the corner.
- Set up six category signs on the desk: metaphor, simile, personification, hyperbole, imagery, symbolism.
- Students sort strips into piles, keeping the line number visible so you can trace disputes back to the text.
- Resolve the contested strips together. Any strip two people argued over is worth two minutes of whole-class talk.
- Finish with a second round adding sound devices: alliteration, assonance, consonance, onomatopoeia.
Write the word bank as definitions in student language, one per line, with a short example drawn from a well-known poem. Students who have the vocabulary can self-correct a sort, which saves you from arbitrating every strip.
Assessment: A quick exit slip with three lines from the poem and a blank line for each: students name the device and quote the evidence.
Extension for advanced students
Give honors or high school groups a second set of lines and require each group to argue that one line carries two devices at once, then defend the reading in three sentences. Ambiguity is the point of the extension.
6. Poetry Remix Workshop
A remix combines analysis with writing: students first explain what a poem is really about, then rebuild it.
Objective: Students identify the central idea of a familiar poem and rewrite part of it in a new mode while preserving one chosen literary technique.
Materials: A short familiar poem, a remix guide with the required technique, revision checklist.
Time: 45-55 minutes.
- Start with a blackout-style warmup: photocopy any page of a book, have students mark words worth keeping, and read the result aloud. It takes ten minutes and it takes the fear out of writing.
- Put the target poem on the board. Ask for its central idea in one sentence before any rewriting starts.
- Students choose one thing to change: a scene becomes a message, a ending becomes a beginning, a first person becomes a third person, or a narrator becomes an object.
- Require one preserved technique, such as a repeated refrain, a rhyme scheme, or a consistent image. It has to appear in the new version.
- Last five minutes, pairs read both versions to each other and name what the new version gained.
A remix is not a summary. A summary retells what happened; a remix re-decides how to tell it. When you collect the work, the fastest way to separate the two is to ask whether the original’s line breaks and technique survived in some altered form.
Assessment: Check for one preserved technique, a stated central idea, and a change that alters the poem’s effect. Style or polish is not the bar.
7. Poetry Map: Visualizing a Poem
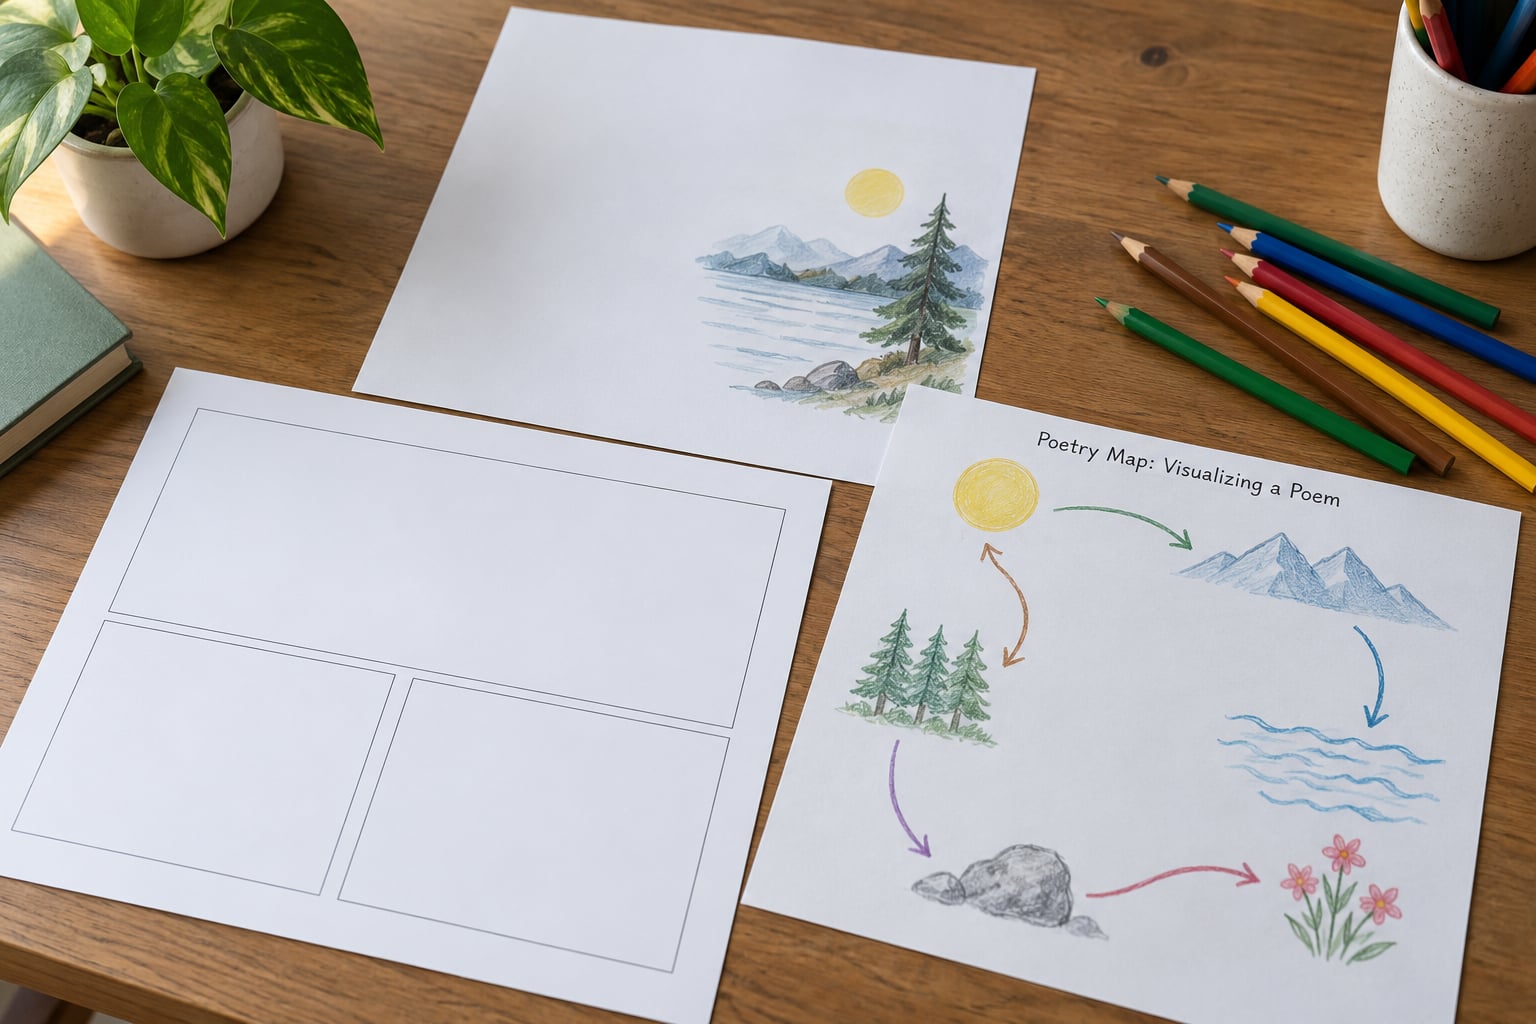
Mapping a poem makes structure physical. Students who cannot yet talk about enjambment can still draw where the poem’s energy moves.
Objective: Students create a visual map of a poem’s images, shifts, line breaks, and sounds, then explain the design choices behind it.
Materials: Poem copies, one large sheet of paper per pair, colored pencils or crayons.
Time: 35-45 minutes.
- Model a partial map on a document camera or the board: draw a line’s image as a small sketch, then an arrow showing where the poem travels next.
- Set drawing rules. Symbols for sound devices, sketches for imagery, arrows for shifts in mood or time, and thicker lines for line breaks that stop the reader.
- Students work in pairs on one large sheet, marking the poem as they map.
- Pairs write three sentences explaining two design choices: why one image got a sketch, and where the poem slows down.
- Display the maps, and let the room walk through them as a gallery.
This is the easiest lesson on the list to run without a printer. Copy the poem onto a whiteboard once and have pairs work on whiteboards or butcher paper, and the lesson travels fine to a room with no color printer and no devices.
Assessment: Look for accuracy first, since a map that places images in the wrong order is a comprehension problem, not an art problem. The three explanation sentences tell you whether the pair made choices on purpose.
8. Poetry Circles
Poetry circles put discussion responsibility on named roles so that quiet students have a job and strong students stop dominating.
Objective: Students analyze a poem in small groups through assigned roles, then share one discovery per group with the class.
Materials: Poem copies, role cards, one discovery sheet per group.
Time: 40-50 minutes.
- Assign five roles: lines (reads the poem aloud), questions (holds two prepared questions), connections (links the poem to another text or to their own life), sound devices (tracks alliteration, assonance, consonance, onomatopoeia), and favorite phrase (defends one line).
- Groups of five, mixed reading levels. Let groups draw for roles if you would rather not assign.
- Give a two-minute preparation note before discussion so nobody opens cold, then run twelve to fifteen minutes of group talk.
- Each group shares one discovery. Take them in role order so the class hears sound devices last, after meaning is established.
For groups that stall, give the sound devices role a fallback: list every repeated letter sound first, then decide which one is doing real work. Teachers running literature circles in the middle grades report that this specific role produces the most talk.
Assessment: The discovery sheet plus your own note on which groups produced evidence and which produced opinion. Most classes need one nudge from you around the eight-minute mark.
9. Write a Poem in Another Poet’s Style
Imitation is the fastest route into form, diction, and tone, because students borrow a structure before they have to invent one.
Objective: Students study a public-domain poem, identify two or three stylistic features, and write an original poem that uses those features without copying the source text.
Materials: A named public-domain poem, a style-feature checklist, model poem written by you.
Time: 50-60 minutes, or split across two days.
- Choose a public-domain poem with a visible signature: Emily Dickinson’s slant rhyme and dash, Gwendolyn Brooks’s tight narrative pressure, or Walt Whitman’s long accumulating lines.
- Write your own imitation first and read it to the class. Naming what you borrowed out loud gives students permission to do the same.
- Students fill in a style-feature checklist covering line length, diction, rhyme or slant rhyme, punctuation habits, and tone.
- Draft an original poem using at least two of those features. Say clearly that reusing a line from the model counts as copying.
- End with a two-line comparison: what did you keep, and what did you have to change to make it yours?
Imitation is where free verse students often find their footing. A familiar shape gives a writer something to push against, and the constraint disappears once the draft exists.
Assessment: Two of the three listed features present and clearly intentional, plus originality. Grade the choice, not the polish.
10. Poetry Analysis Debate
A debate turns interpretation into argument, which is the move your English standards actually ask for.
Objective: Students argue a debatable reading of a poem using textual evidence, address a counterargument, and distinguish interpretation from preference.
Materials: Poem copies, position cards, an evidence sheet with four columns: claim, evidence, reasoning, counterclaim.
Time: 50-60 minutes.
- Assign one reading per student before class: the speaker is hopeful, the speaker is critical, the poem is confessional, or the poem refuses to settle.
- Spend eight minutes preparing a claim with at least two quoted lines. Give the evidence sheet as the only allowed scratch paper.
- Run two rounds of short speeches, two minutes each, then open one round of cross-examination so students must answer the other side’s evidence.
- Hand out a new position card at random and give students three minutes to argue the opposite reading. Most of them discover it is weaker, which is the lesson.
- Close with a written reflection: I argued, and the strongest evidence for my side was.
The most useful sentence in this lesson is the one students resist most: I like this line, but the poem does not require it. Say it out loud before the debate starts.
Assessment: Score the evidence sheet, not the winning side. Four criteria work well: a specific claim, two pieces of accurate evidence, reasoning that connects evidence to claim, and a real counterclaim.
How to Build a Poetry Unit That Holds Up
Ten lessons in isolation is a lot of prep. A short sequence is cheaper, and students retain more when ideas build on each other.
Week one can run on discovery: blackout poetry to lower the stakes, then the scavenger hunt and the sorting activity to build device vocabulary. Week two shifts to analysis with the performance activity, the lyric comparison, and the close reading. Week three is production, with the remix workshop, the style imitation, and a poetry circle for peer feedback. Week four closes with the analysis debate and a public reading or gallery walk.
Three habits keep a unit from falling apart. Sequence from known to unknown, so students meet concrete, playful work before dense analysis. Give every lesson a visible objective, because the objective is what you point back to when the room drifts. And build in one lesson with nothing to submit, so that a bad day does not become a bad week.
Differentiation is mostly a matter of the poem you choose. Younger students and English learners do better with short lines, concrete images, and a repeated refrain they can hear; older students can handle ambiguity and an argument with no stated answer. Support students get the poem’s vocabulary list in advance, a partner for the sort, and fewer lines to annotate. Advanced writers get longer poems and a second constraint.
For timing, National Poetry Month in April gives you a reason to announce the unit to students and families, and the spring testing window is often the worst time to start a writing-heavy unit. A short unit in September or January tends to hold attention better.
Frequently Asked Questions
What are the three R’s of poetry?
The three R’s are read, recite, and write. Read means reading a poem silently and then aloud so students hear how it sounds. Recite means memorizing and performing a poem, which strengthens comprehension and phonemic awareness. Write means drafting original poetry. Most lesson plan ideas for teaching poetry hit two or three of these in a single period, and a unit that skips recitation loses a lot of fluency practice.
What are the six S’s of poetry?
The six S’s are structure, sense, sound, sight, sentiment, and surprise. Structure covers stanza, rhyme scheme, and line breaks. Sense covers literal meaning. Sound covers alliteration, assonance, consonance, and rhythm. Sight covers imagery. Sentiment covers tone and feeling. Surprise covers the turn a poem makes. Teachers who name the six S’s give students a way to analyze a poem without a device checklist.
How do I create a blackout poem step by step?
Take a page of text you have the right to copy, such as a public-domain book or your own draft. Read it once, then mark words and phrases worth keeping by boxing or underlining them. Black out everything else with marker. Read the remaining words top to bottom and add line breaks, punctuation, and words if the piece needs them. The result is a poem built entirely from someone else’s words.
What are the five rules of slam poetry?
Five rules cover the ground well. Stand where everyone can see you. Speak loudly enough for the back row. Use your body and your hands, not only your voice. Focus on a theme or message instead of rambling. Make eye contact and finish clearly rather than trailing off. Add a time limit, usually three minutes, and set an audience expectation that listening is part of participating.
How do I teach poetry to reluctant readers?
Start with sound rather than meaning. Blackout poetry, performance work, and a silly subject poem get students reading before they have to interpret anything. Pair rather than perform solo, because a partner lowers the stakes. Choose poems with an unusual subject, since unexpected topics hold attention better than solemn ones. Keep the first lesson low-stakes and ungraded so that being wrong stays cheap.
How do I grade student poetry without killing creativity?
Grade craft decisions, not talent or originality of idea. A four-criterion rubric works well: deliberate use of one technique, control of line breaks and structure, purposeful word choice, and revision evidence such as a draft and a final. Do not grade topic or subject matter. Rubrics published for free on teacher-resource sites are fine to copy and adapt to your own criteria.
Conclusion
These 10 lesson plan ideas for teaching poetry run the range from a 25-minute device hunt to a full-period argument, and each one works in a single class period with paper and a poem you already have. Start with the scavenger hunt, the sort, or the blackout warmup if your students have decided poetry is not for them. Start with the close reading or the debate if they already read well and need harder work.
Before class, pick one poem your students can actually finish in the time you have, and rewrite one discussion question in your own words. That adjustment takes five minutes and does more for the lesson than any worksheet you download.